Arduino is an open-source electronics platform based on easy-to-use hardware and software. This is also one of the most common and popular electronics proto-board with plug & play connectivity with Atmega328p micro-controller. But one of the drawbacks is you have to use the total board with your system or project. If you want to use only the Atmega328p micro-controller then you have either remove the MCU from the Arduino board or you need a bootloader. In this article, we are going to learn about this bootloader. So let’s make an Arduino Bootloader with ICSP.
Disclaimer: Electricity is always dangerous. Proper skill is required to work with electricity. Do work at your own risk. The author will not be responsible for any misuse or harmful act. Most of the projects published here are open source; anything copying and directly posting on your website and then claiming it as yours is a prohibited and nonsensical act. A project can be open-sourced, but making a working product needs lots of effort. As products make money from a business, products are not free, but knowledge will always be free. If you want to grow your business using our products, you should pay for that. Thanks.
Table of Contents
What is an Arduino bootloader?
Microcontrollers are usually programmed through a programmer unless you have a piece of firmware in your microcontroller that allows installing new firmware without the need for an external programmer. This is called a bootloader. If you want to use the full program space that means flash of the chip or avoid the bootloader delay, you can burn your sketches using an external programmer. But using a bootloader is much easier than using a programmer. Once the bootloader is burnt to the MCU, only serial data is required to upload the sketches which is much easier to do. Even a simple USB to serial converter can do that.
Now, to burn the bootloader, you’ll need to buy an AVR-ISP, USBtinyISP, or ParallelProgrammer. These are not quite an easy ways. But you can do this job using a simple bootloader circuit like this:
Bootloader Circuit diagram:

The circuit is very simple. All you need an Arduino board and the micro-controller Atmega328p along with a crystal of 16MHz, two 22pF ceramic capacitors, and a 10K resistor. Once the circuit is made, upload a sketch to your Arduino first.

Then upload this sketch to a normal Arduino UNO. Once uploaded, go to tools and select:

After selecting the programmer as Arduino as ISP, burn the bootloader. Make sure the MCU atmega328p is connected as the circuit diagram. It will take some time to burn the bootloader.


Once the bootloader is burnt to the micro-controller, you are free to use any program from your Arduino IDE to upload to the micro-controller. To do that reset the programmer to default Arduino mkll programmer, select the port and upload….!!!!
What’s next?
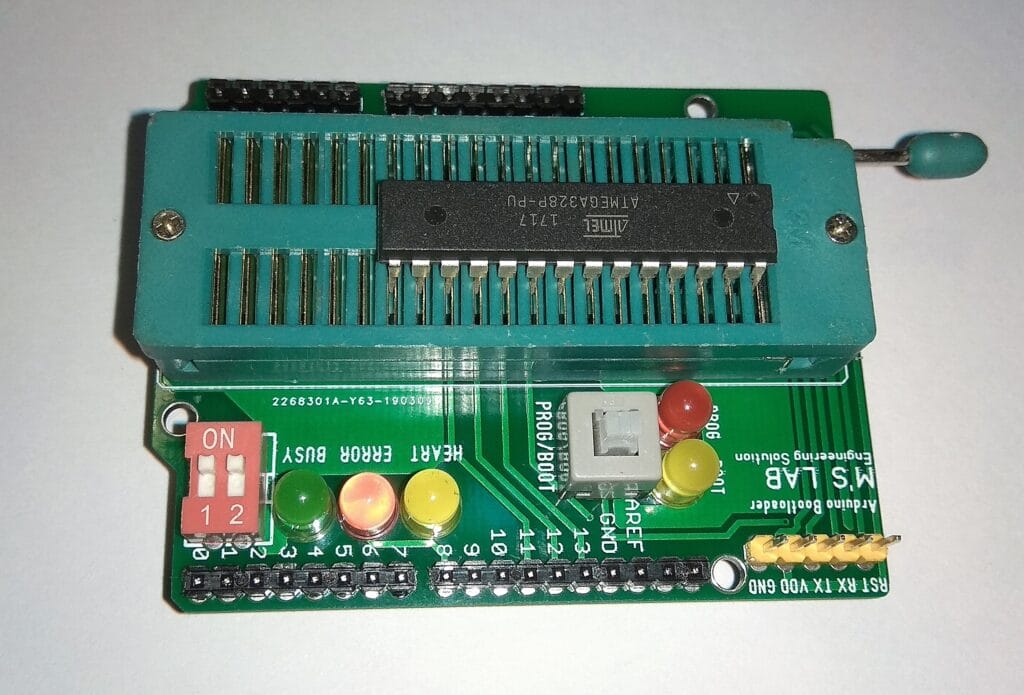
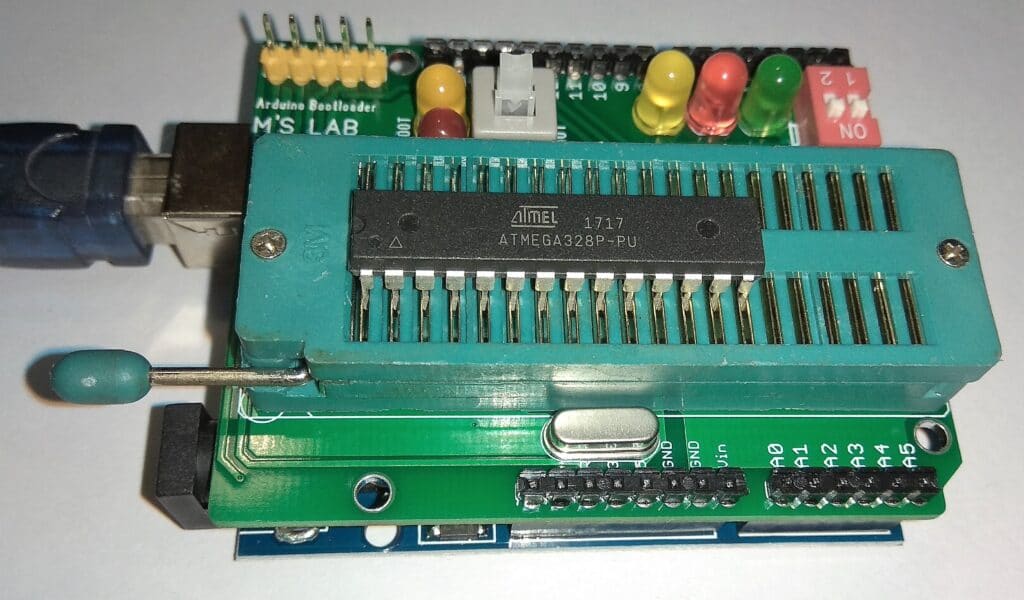
Besides using this previous circuit diagram, you can use one of our products Arduino Bootloaders. This bootloader is very easy to use and also having an ICSP programming option. You can keep your micro-controller in your control circuit and upload the Arduino sketch through this bootloader.

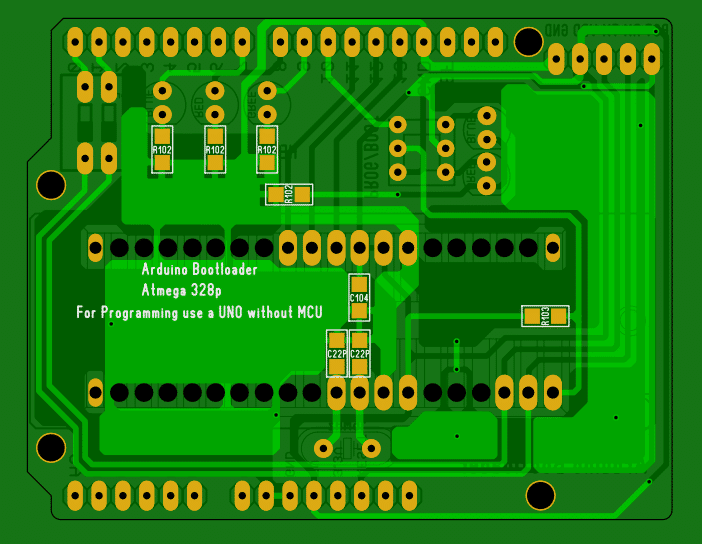
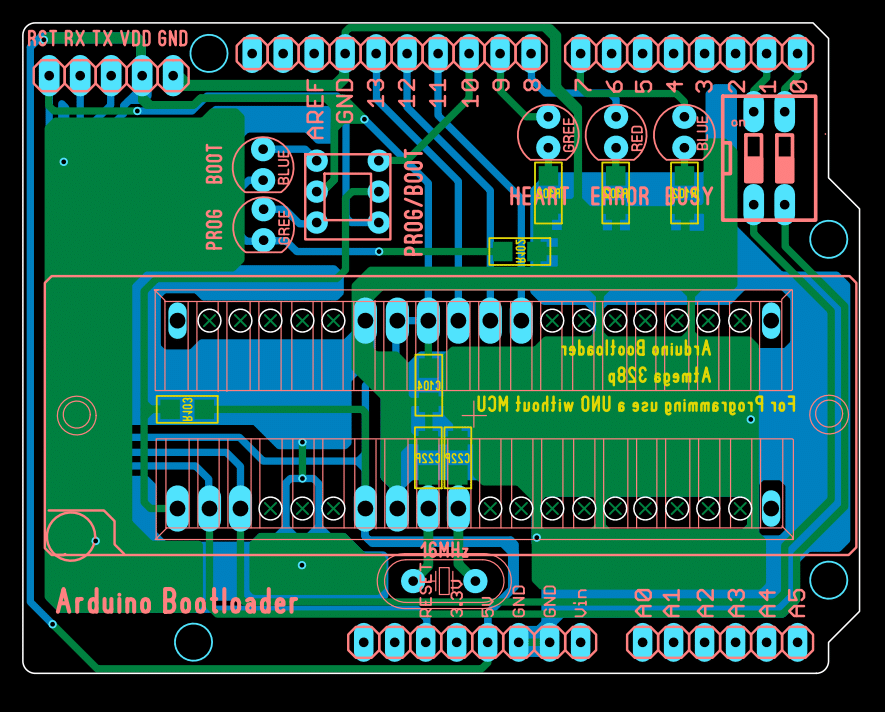
PCB:

Conclusion:
Arduino bootloader is free and open-sourced, but making a complete product type user-friendly board needs lots of effort. You can use the free circuit but if you want to use the complete one or make your own you should pay for that. Because you are getting benefits from that.
Anyway, I hope you enjoyed the article. If you need any help please let me know. Thanks.
Liked this article? Subscribe to our newsletter:
or,
Visit LabProjectsBD.com for more inspiring projects and tutorials.
Thank you!
Check this: 6V Lead-Acid battery charger circuit.


2 Comments
Gopal Chandra · 30/10/2023 at 9:54 pm
Sir I need adrino bootloader pcb or complete kit how to get it my contact number is+919153688949
MKDas · 01/11/2023 at 11:39 am
Whatsapp me.