TinyML, or Tiny Machine Learning, is revolutionizing the world of microcontrollers. It allows you to run powerful machine-learning models on devices with limited resources, opening doors for intelligent applications at the edge of the network. This article will guide you through the exciting world of TinyML with Arduino, showcasing project examples, code snippets, and even a basic circuit diagram! So let’s start Machine Learning on Your Microcontroller.
Table of Contents
Getting Started with TinyML on Arduino:
Here’s a roadmap to kickstart your TinyML journey:
- Data Collection: Gather sensor data from your Arduino (temperature, light, etc.) This data will be the foundation for training your machine-learning model.
- Model Training: Use a machine learning framework like TensorFlow to train a model on your collected data. TensorFlow Lite for Microcontrollers offers tools to convert this model into a format compatible with Arduino’s limitations.
- Deployment: Upload the converted model and code to your Arduino board. The code will process sensor data in real time using the model and generate outputs based on predictions.
Learning Resources:
Before diving into projects, equip yourself with some knowledge. Here are some valuable resources:
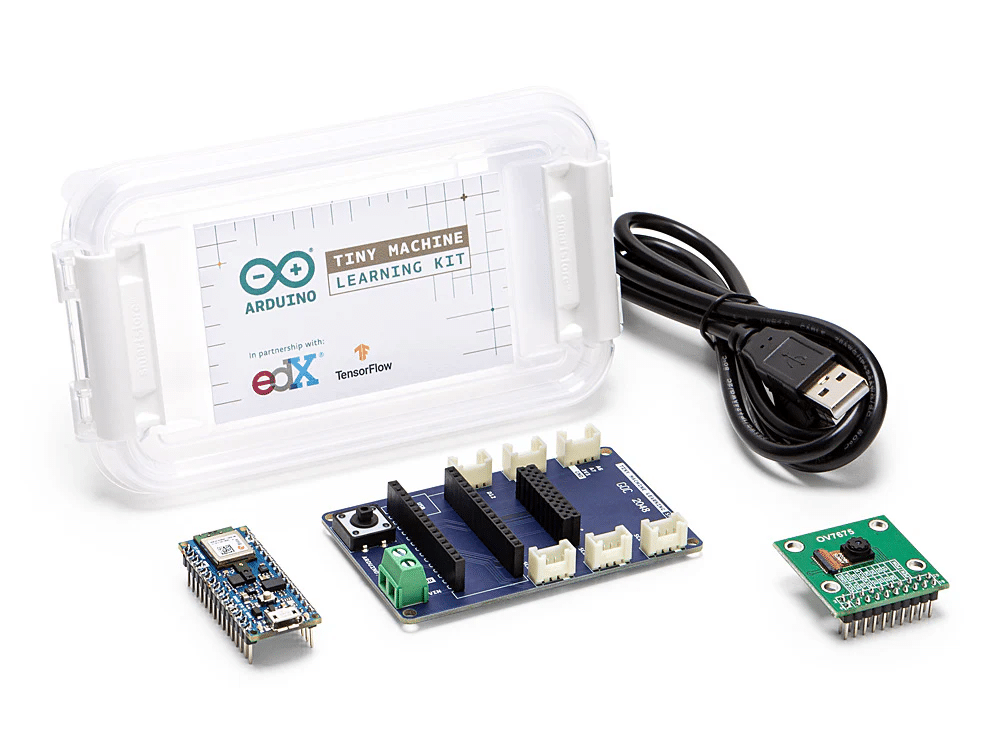
- Arduino Tiny Machine Learning Kit: [Arduino Tiny Machine Learning Kit] (This kit provides a great introduction with hardware and tutorials)
- TensorFlow Lite for Microcontrollers: [TensorFlow microcontrollers ON tensorflow.org] (The official guide for running TensorFlow models on microcontrollers)
- TinyML: Machine Learning with TensorFlow Lite on Arduino and Ultra-Low-Power Microcontrollers by Pete Warden and Daniel Situnayake (A comprehensive book on TinyML with practical examples)
Example:
Project 1: Motion Detection with LED Notification (Circuit Diagram Included!)
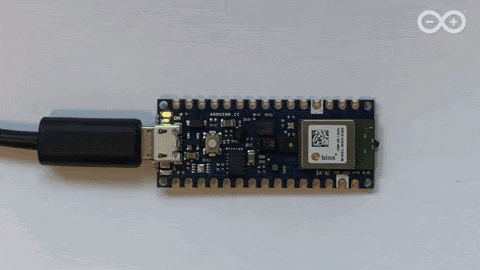
Let’s build a project that detects motion using the Arduino Nano 33 BLE Sense and alerts you with an LED.
Hardware:
- Arduino Nano 33 BLE Sense
- Jumper Wires
- LED
- Breadboard (optional for easier wiring)
Circuit Diagram:
         +-------+
         |       | (Breadboard)
         |       |
         |       |
         |       v
         |  LED (Long leg to pin 13)  |
         |       ^
         |       |
         |       |
         +-------+
           |
           | (100 ohm resistor)
           v
        +---5V---+
Code:
This code snippet demonstrates a basic motion detection application with an LED notification.
C++
#include <Arduino_TensorFlowLite.h>

// Define model parameters (replace with your model details)
const tflite::Model* model;
const tflite::MicroInterpreter* interpreter;
TfLiteTensor* inputTensor;
TfLiteTensor* outputTensor;

// Define pins
const int ledPin = 13;

void setup() {
  Serial.begin(9600);

  // Load your TensorFlow Lite model here
  // ... (model loading code)

  // Allocate memory for tensors
  interpreter->AllocateTensors();

  // Obtain pointers to input and output tensors
  inputTensor = interpreter->input(0);
  outputTensor = interpreter->output(0);

  pinMode(ledPin, OUTPUT);
}

void loop() {
  // Read accelerometer data
  float x, y, z;
  // ... (accelerometer reading code)

  // Prepare input data for the model
  float input[1] = {x};

  // Run inference using the model
  interpreter->Invoke();

  // Get the model's prediction (probability of motion)
  float output = outputTensor->data()[0];

  // Set LED based on prediction
  if (output > 0.5) {
    digitalWrite(ledPin, HIGH);
  } else {
    digitalWrite(ledPin, LOW);
  }

  delay(100);
}
Explanation:
- The code includes the
Arduino_TensorFlowLite.hlibrary. - Replace the model loading section with code to load your pre-trained motion detection model converted for TensorFlow Lite microcontrollers.
- The
setupfunction initializes serial communication, allocates memory for tensors based on your model, sets the LED pin as output, and includes a resistor in the circuit diagram for safety. - The
loopfunction continuously reads accelerometer data, prepares it for the model, performs inference, and lights the LED based on the model’s prediction of motion exceeding a threshold.
Project 2: Voice Activated Light Switch (More Advanced)
This is a more advanced project that requires additional components like a microphone and a pre-trained voice recognition model. You can find it in GitHub but first, you need to start with a simple one.
Sources:
Read more:
- A Comparison of PIC Microcontrollers with Other Popular Families: PIC vs AVR vs ARM
- How to implement a maximum power point tracking (MPPT) algorithm with an Arduino
Liked this article? Subscribe to our newsletter:
or,
Visit LabProjectsBD.com for more inspiring projects and tutorials.
Thank you!


0 Comments