Learn how to interface an external Electrically Erasable Programmable Read-Only Memory (EEPROM) with STM32 microcontrollers using the built-in EEPROM peripheral. Explore various EEPROM features and see an example code for easy understanding.
⚠️Disclaimer:
Working with electricity involves serious risk. Ensure you have the necessary skills and take proper safety precautions before attempting any electrical projects. Proceed at your own risk — the author assumes no responsibility for any damage, injury, or issues resulting from the use or misuse of the information provided.
All content on this website is original and protected by copyright. Please do not copy or reproduce content without permission. While most of the resources shared here are open-source and freely accessible for your learning and benefit, your respect for our intellectual effort is appreciated.
If you find our tutorials helpful, consider supporting us by purchasing related materials or sharing our work — it helps keep the content flowing.
Need help or have questions? Leave a comment below — the author is always happy to assist!
Electrically erasable programmable read-only memory (EEPROM) is a type of non-volatile memory that allows users to store data permanently. EEPROMs are commonly used in embedded systems where data needs to be stored even when the device is powered off. STM32 microcontrollers come with built-in EEPROM peripherals that provide a simple and efficient way to interface with EEPROMs. In this article, we will discuss the EEPROM peripheral of STM32 microcontrollers and its various features.
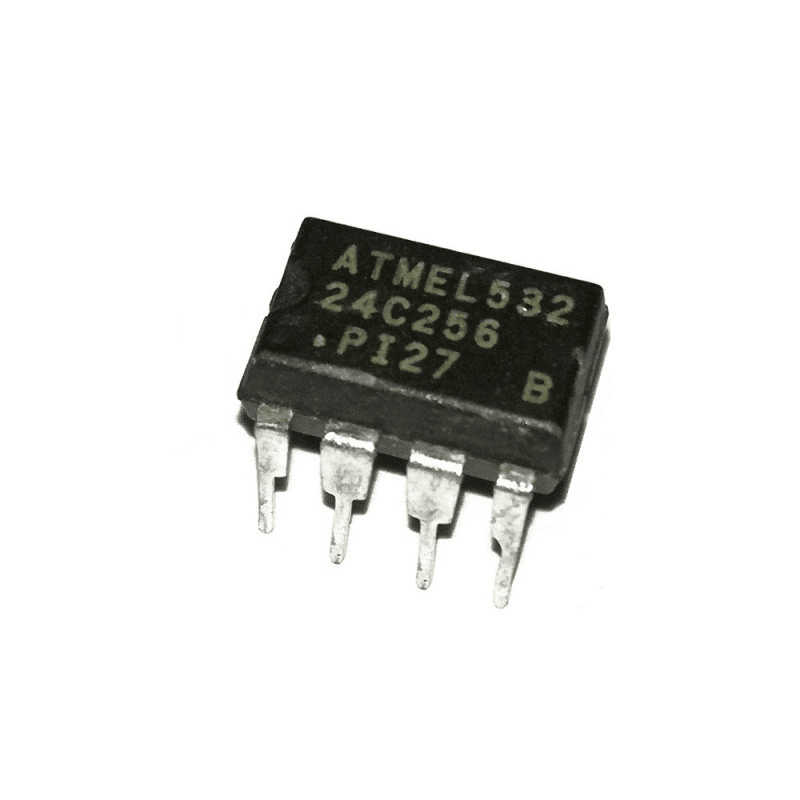
EEPROM Overview:
The EEPROM peripheral of STM32 microcontrollers provides a simple way to interface with external EEPROM devices. The EEPROM peripheral allows users to read and write data to an external EEPROM using the I2C or SPI communication protocol. The EEPROM peripheral can also be configured to generate an interrupt when the data transfer is complete.
STM32 EEPROM Configuration:
The EEPROM peripheral of STM32 microcontrollers can be configured using the STM32CubeIDE software. The STM32CubeIDE provides an EEPROM configuration tool that allows users to configure various parameters such as the communication protocol, memory address, and data transfer rate.

EEPROM Example Code
Here is an example code that demonstrates the basic EEPROM functionality of STM32 microcontrollers. This code uses the STM32CubeIDE and the STM32F4 Discovery board.
#include "main.h"
#include "stm32f4xx_hal.h"

I2C_HandleTypeDef hi2c1;

void SystemClock_Config(void);
static void MX_GPIO_Init(void);
static void MX_I2C1_Init(void);

#define EEPROM_ADDRESS 0xA0

int main(void)
{
  HAL_Init();
  SystemClock_Config();
  MX_GPIO_Init();
  MX_I2C1_Init();

  uint8_t data_write[10] = "Hello";
  uint8_t data_read[10] = {0};

  if (HAL_I2C_Mem_Write(&hi2c1, EEPROM_ADDRESS, 0, I2C_MEMADD_SIZE_8BIT, data_write, sizeof(data_write), HAL_MAX_DELAY) != HAL_OK)
  {
    Error_Handler();
  }

  HAL_Delay(1000);

  if (HAL_I2C_Mem_Read(&hi2c1, EEPROM_ADDRESS, 0, I2C_MEMADD_SIZE_8BIT, data_read, sizeof(data_read), HAL_MAX_DELAY) != HAL_OK)
  {
    Error_Handler();
  }

  printf("Data read: %s\n", data_read);

  while (1)
  {
  }
}
...
Hope this will help you. See you soon. Thanks.
You can read more on:
- Learn how to use the Real-time Clock (RTC) of STM32
- How to interface micro SD cards with STM32
- I2C communication with STM32
- SPI communication with STM32
- Introducing RTOS with stm32
Liked this article? Subscribe to our newsletter:
or,
Visit LabProjectsBD.com for more inspiring projects and tutorials.
Thank you!


0 Comments