This is a complete practical guide on how you can Connect to Raspberry Pi from your Laptop/Desktop using VNC viewer. This guide is fully informative and completely based on practical steps. Also, this is very important and you should not miss any points. So read every step carefully.
⚠️Disclaimer:
Working with electricity involves serious risk. Ensure you have the necessary skills and take proper safety precautions before attempting any electrical projects. Proceed at your own risk — the author assumes no responsibility for any damage, injury, or issues resulting from the use or misuse of the information provided.
All content on this website is original and protected by copyright. Please do not copy or reproduce content without permission. While most of the resources shared here are open-source and freely accessible for your learning and benefit, your respect for our intellectual effort is appreciated.
If you find our tutorials helpful, consider supporting us by purchasing related materials or sharing our work — it helps keep the content flowing.
Need help or have questions? Leave a comment below — the author is always happy to assist!
First thing first, get all the hardware ready for this including Pi, Cables, MMC, MMC adapter, etc. Then follow the steps.
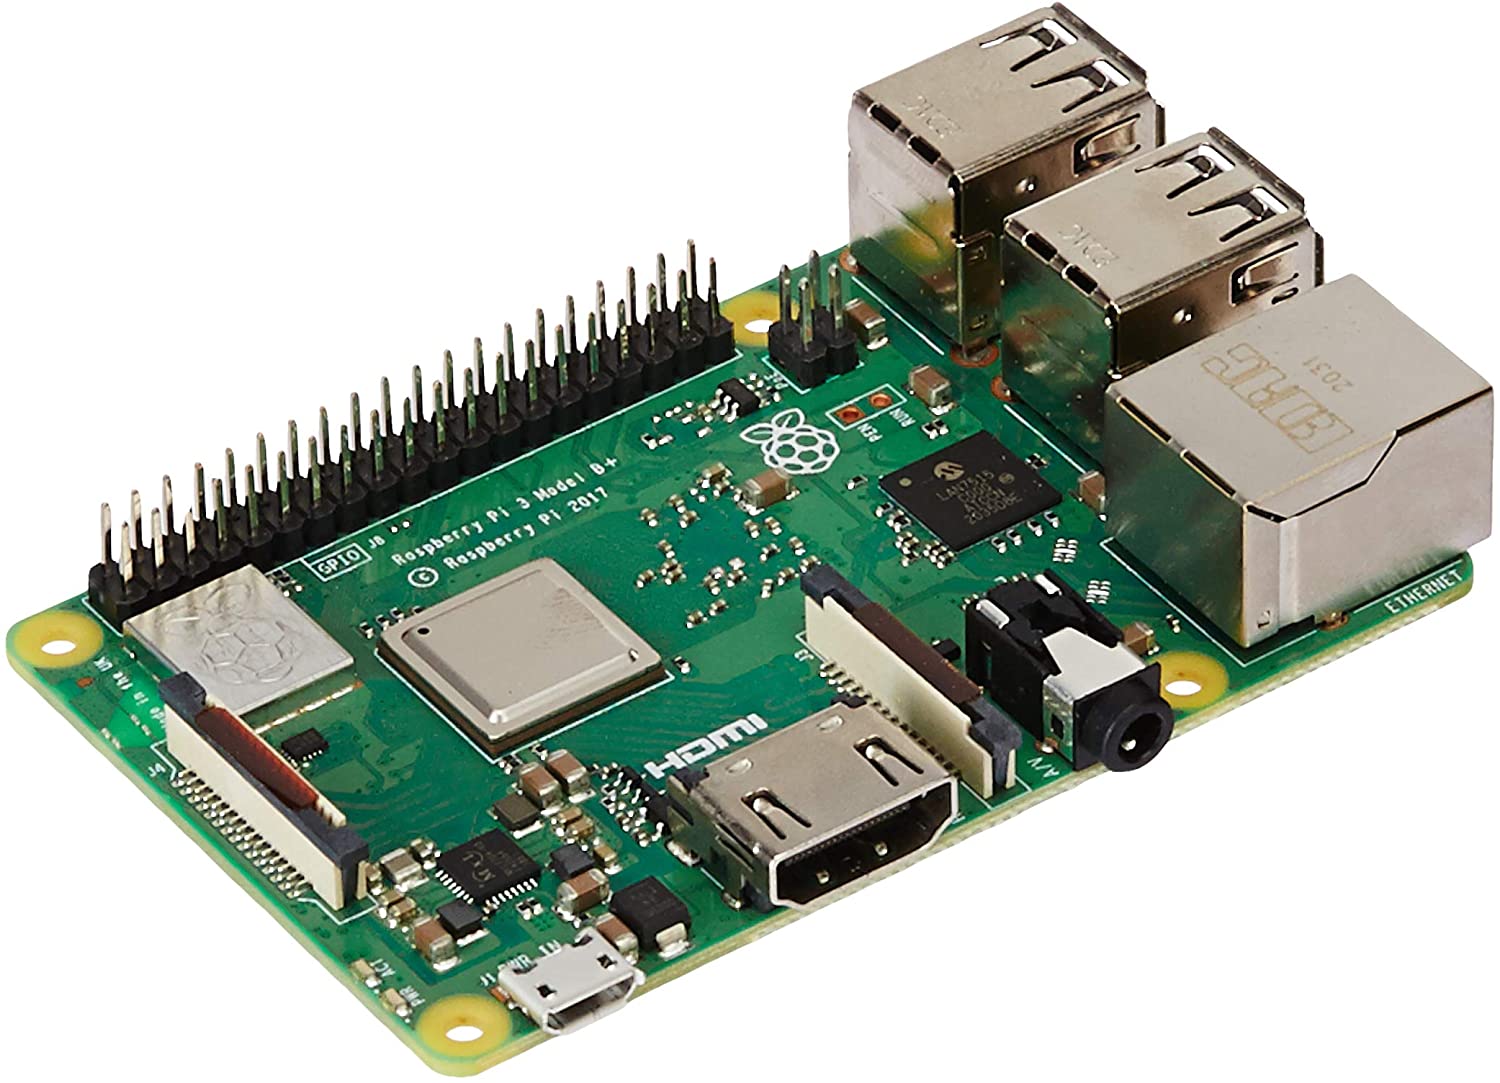
Table of Contents
Step1: Download and install the Raspberry Pi imager.
Step 2: Plug in the MMC through the adapter to your laptop
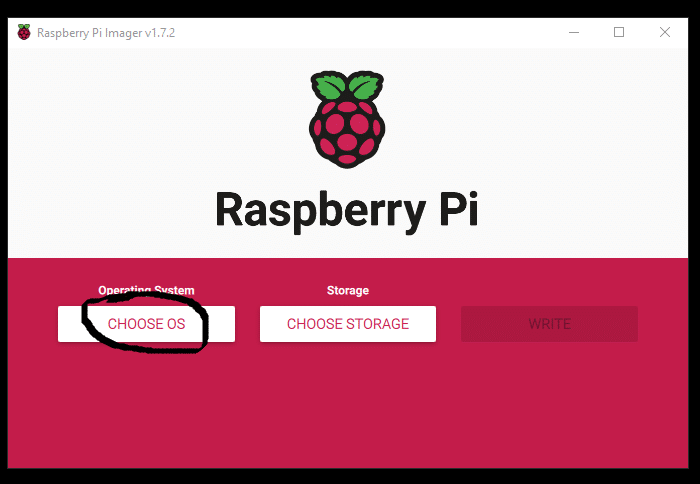
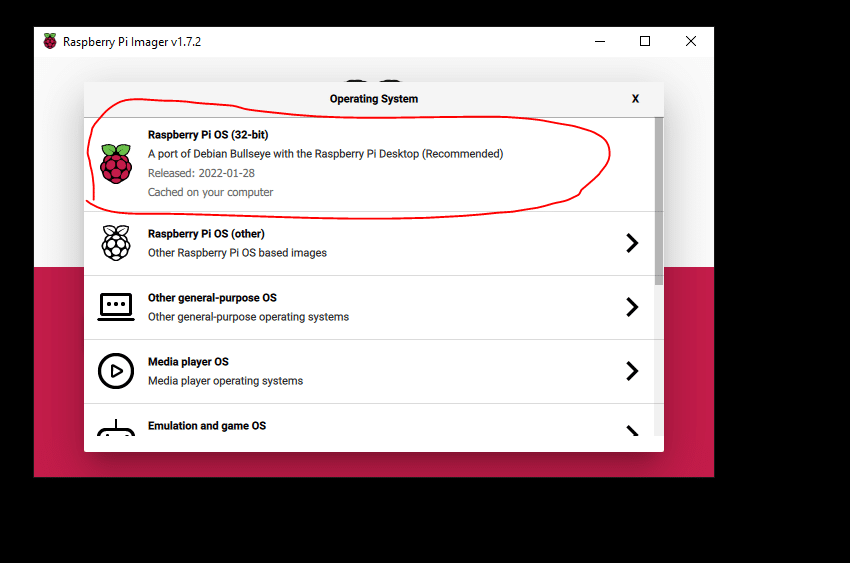
Run Raspberry Pi imager >> chose OS >> select as you need >> select storage device.
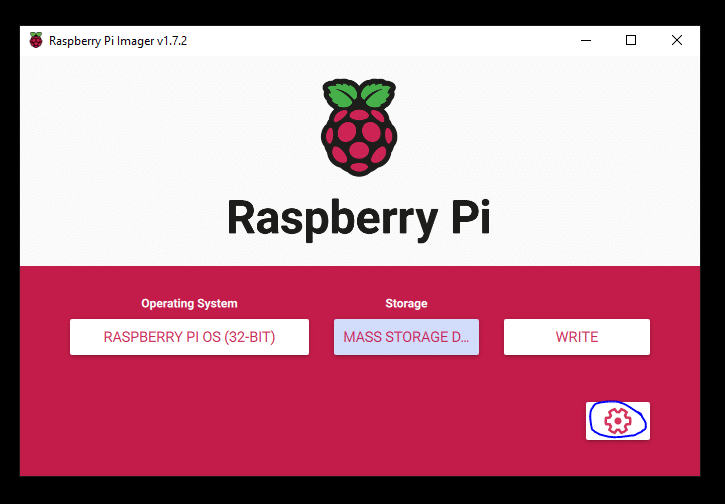
Then click on settings: Set WiFi, and enable SSH set user id and password.
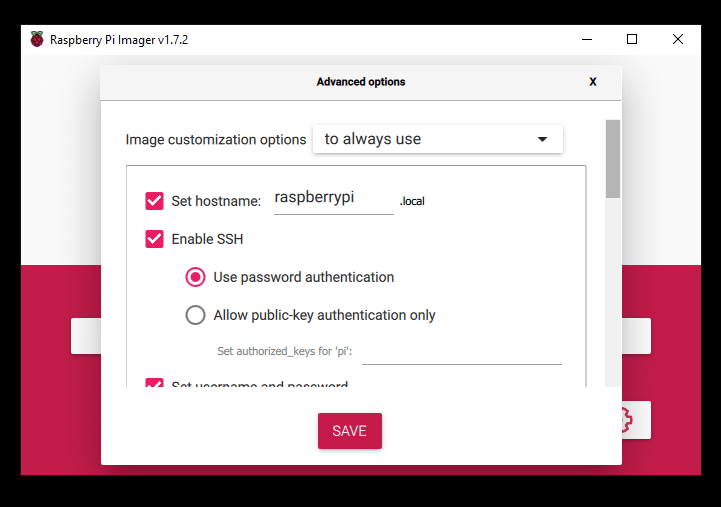
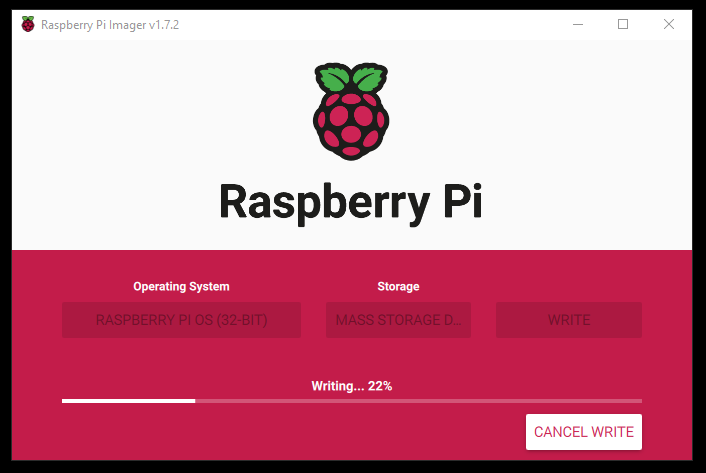
Then write the boot file, wait for verification and let the imager to complete the job. After that, put the MMC to Pi and run the Pi. Let it be boot up and be ready.
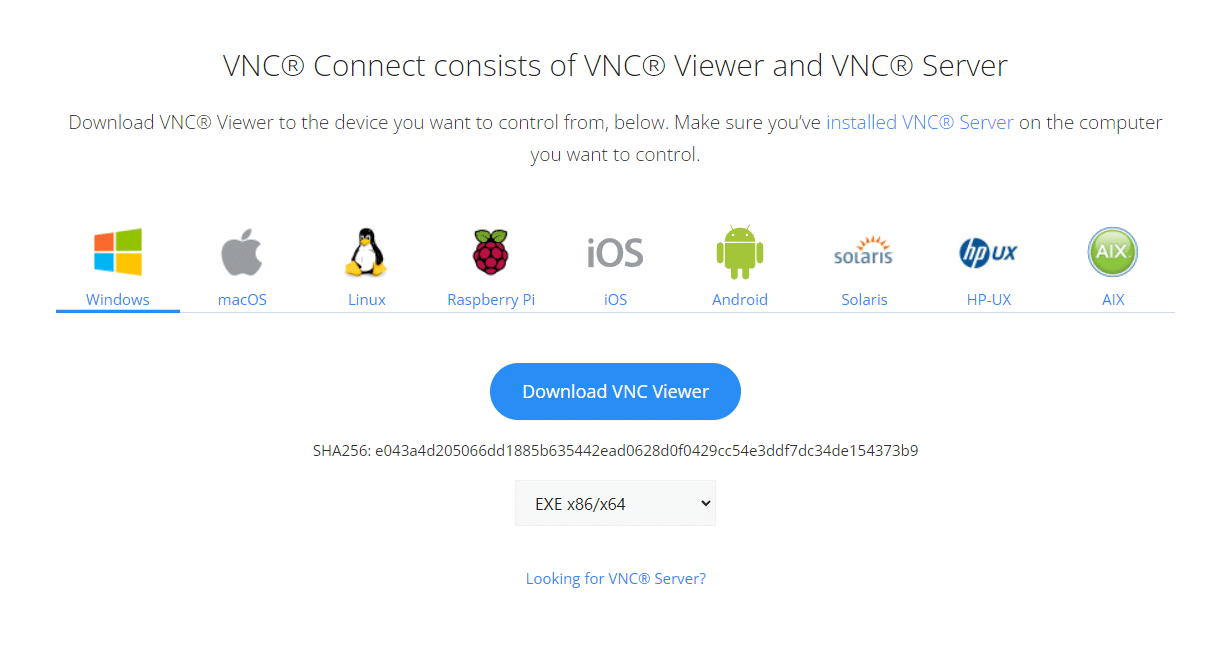
Step 3: Download and Install VNC viewer on your desktop/laptop:
Step 4: Download and install Putty
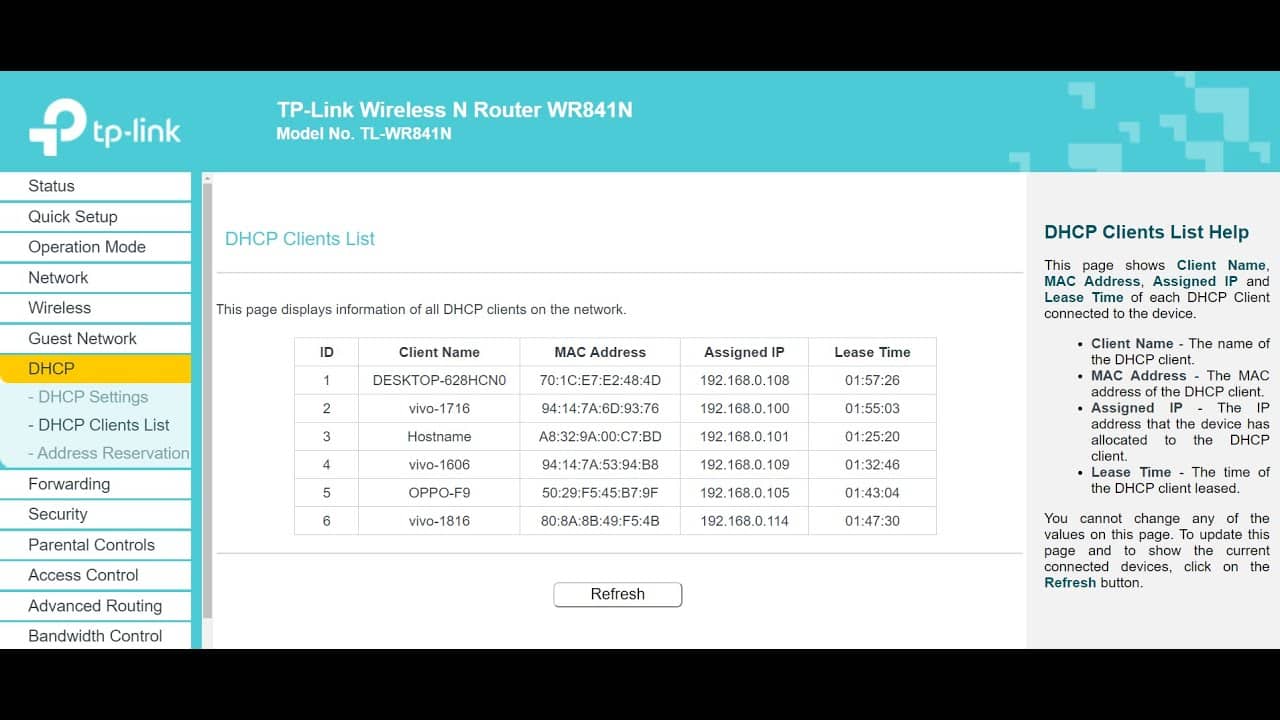
Step 5: Get IP address of your Pi
You can find it on your router admin panel in DHCP >> CHCP Client list

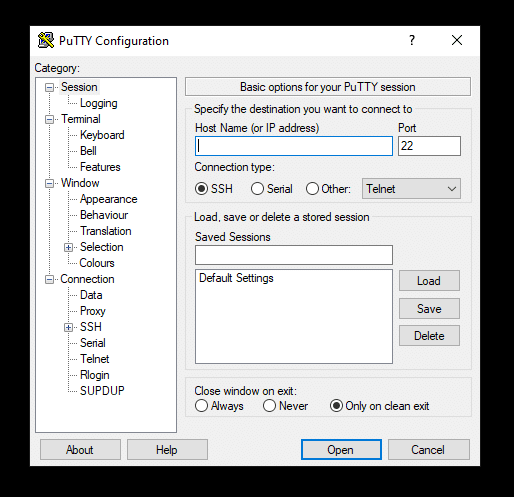
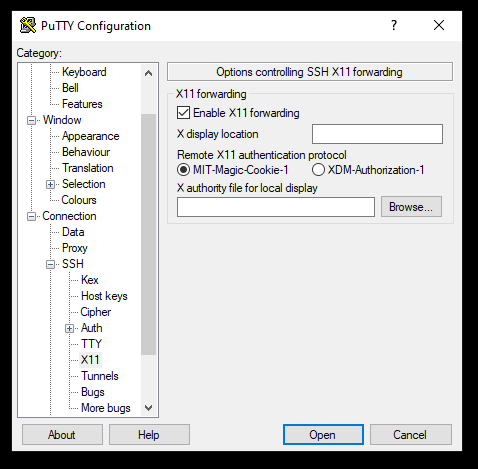
Step 6: Run Putty, and configure it
In the host name space, put the IP address you got and then set Enable X11 forwarding
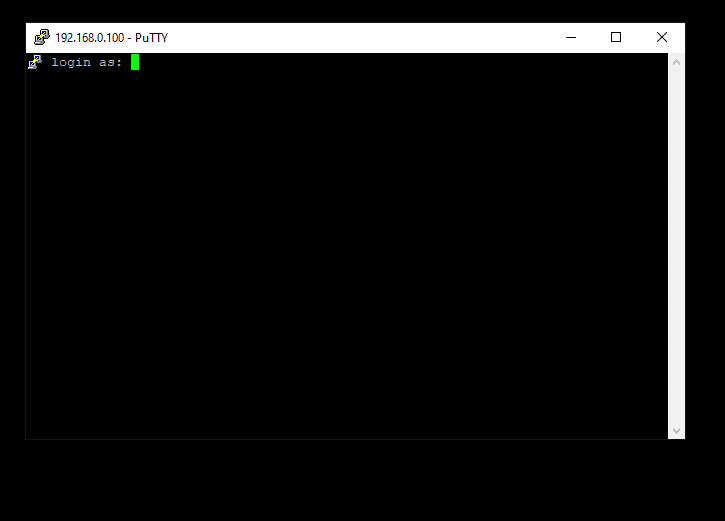
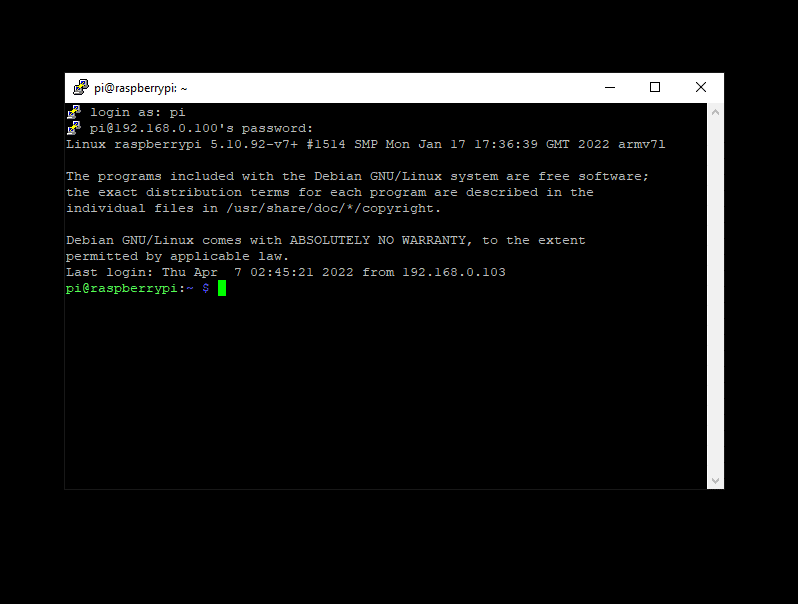
Open it. Then simply log in using the user ID and password you set while burning the mmc with imager. [see above, step 2].
After putting ID and password, you’ll get a response to put commands.
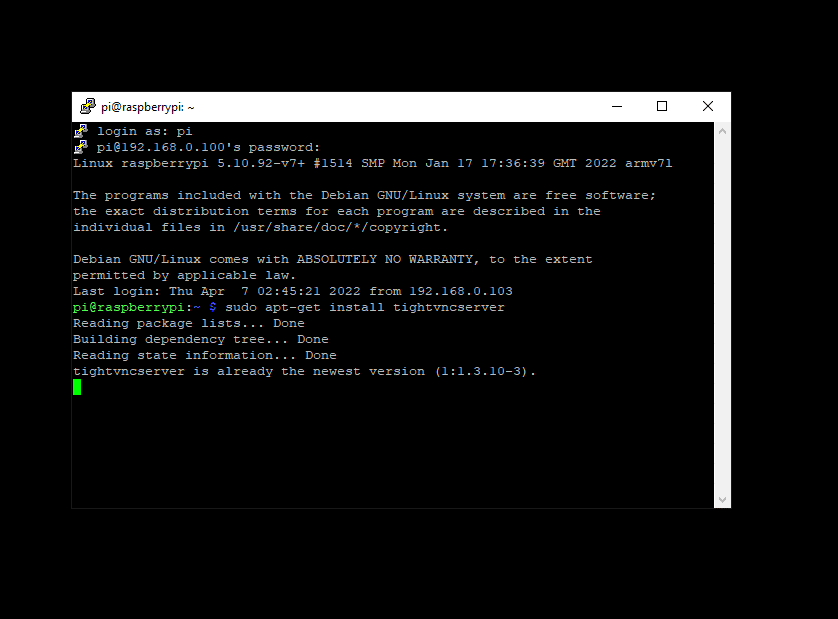
Step 7: Install VNC on the pi
Type “sudo apt-get install tightvncserver” and hit enter. The Pi will start downloading and installing the VNC.
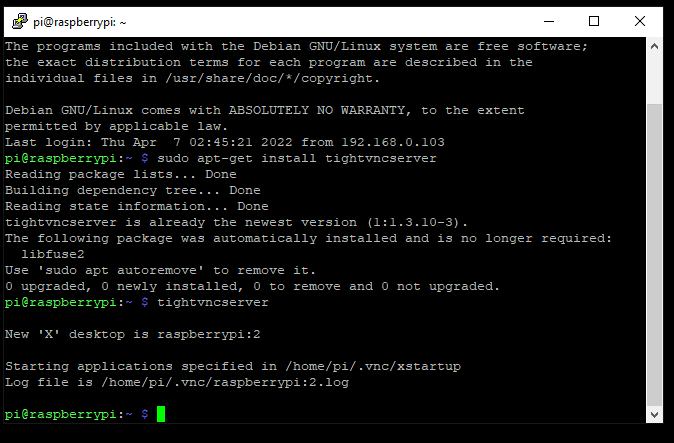
After installation is complete, type “tightvncserver“, then set up the password. Be careful here as it will not show your password in the first line. So you must be careful about this.
After that, Pi will give you a desktop number. For my case, it gave 2 as I have already done it once.
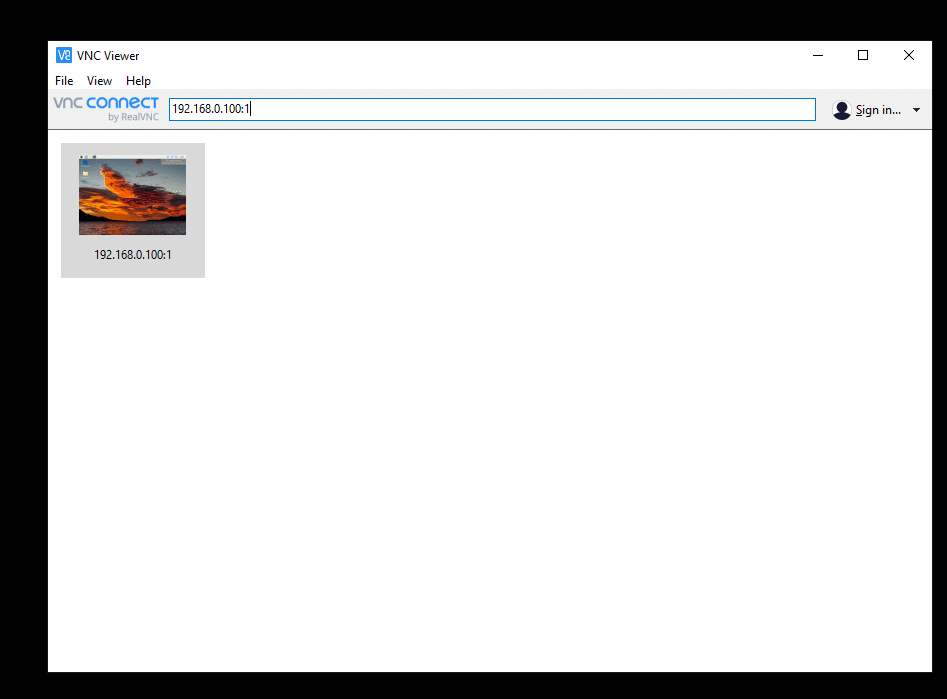
Step 8: Run VNC and configure it:
Put the IP address:desktop number. [Example: 192.168.0.100:1] and hit enter…
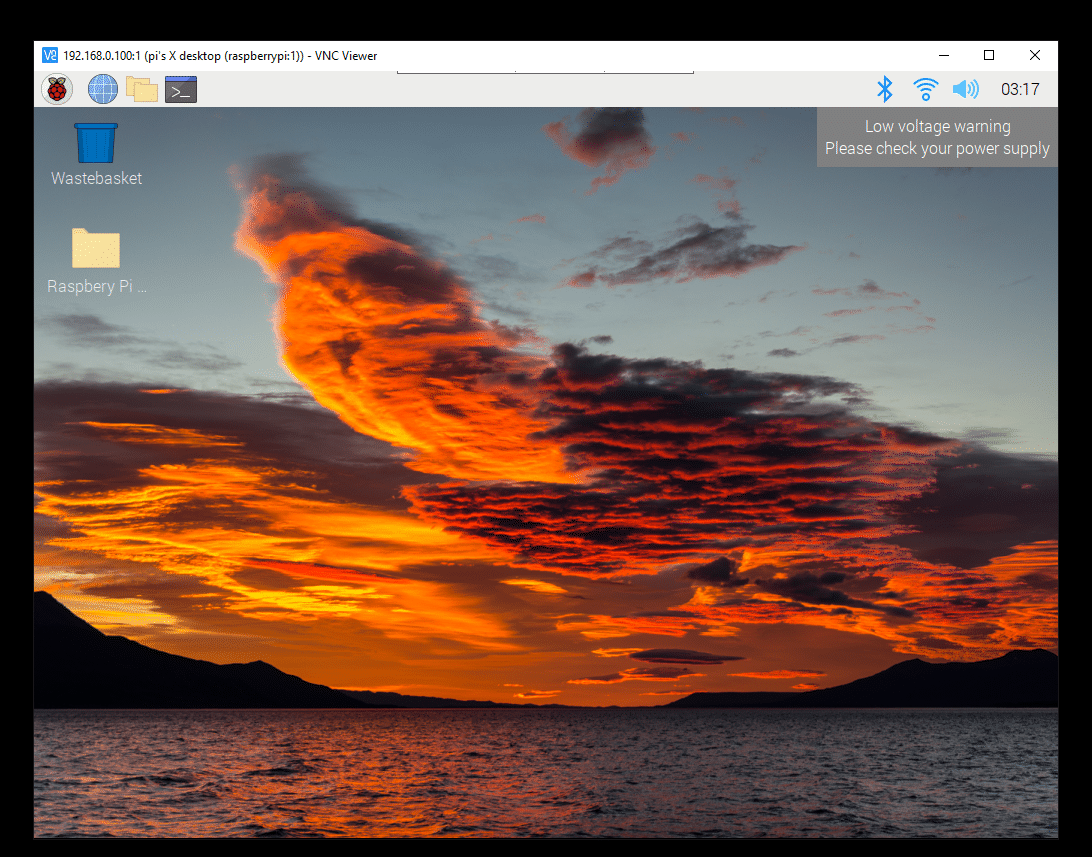
You are done here. And yeah!!! you got it.
So what next?
You can read my other useful articles:
- How to reduce noise from DC motor
- Save String in the EEPROM
- Read ThingSpeak Channel using ESP8266 and Arduino
- Reading SMS with Arduino
- Caller ID detection using Arduino
- A smart Battery charger circuit design guide
- How to make an AC dimmer with PIC12F675 and TRIAC
- Make an MPPT Solar charge Controller with Synchronous Buck Converter
Conclusion:
This article was written based on my practical knowledge. There are several other ways to connect a remote display with the Raspberry Pi. But this method was the most easier for me. I hope this article will help you a lot. Enjoy and see you in the next article.
Liked this article? Subscribe to our newsletter:
or,
Visit LabProjectsBD.com for more inspiring projects and tutorials.
Thank you!


0 Comments