In the IoT landscape, security is paramount, especially for low-power devices like NodeMCU v3. As these devices often operate in remote or vulnerable environments, implementing robust security measures is essential to protect against potential threats. In this article, we’ll see ways of Protecting Your Low-Power Devices with practical examples.
⚠️Disclaimer:
Working with electricity involves serious risk. Ensure you have the necessary skills and take proper safety precautions before attempting any electrical projects. Proceed at your own risk — the author assumes no responsibility for any damage, injury, or issues resulting from the use or misuse of the information provided.
All content on this website is original and protected by copyright. Please do not copy or reproduce content without permission. While most of the resources shared here are open-source and freely accessible for your learning and benefit, your respect for our intellectual effort is appreciated.
If you find our tutorials helpful, consider supporting us by purchasing related materials or sharing our work — it helps keep the content flowing.
Need help or have questions? Leave a comment below — the author is always happy to assist!
Table of Contents
1. Secure Boot
Secure boot ensures that only trusted firmware can run on your NodeMCU. This prevents unauthorized code from being executed, which is critical for maintaining device security.
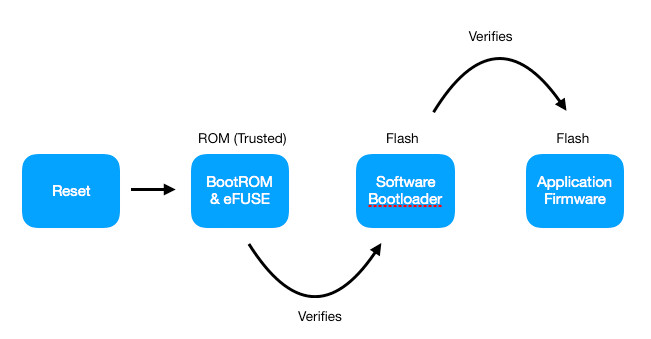
Example Code: Implementing secure boot requires configuring the ESP8266/ESP32 bootloader to verify the firmware’s signature before execution. Unfortunately, the NodeMCU doesn’t natively support secure boot without modifications, so consider using ESP32 for more robust security.
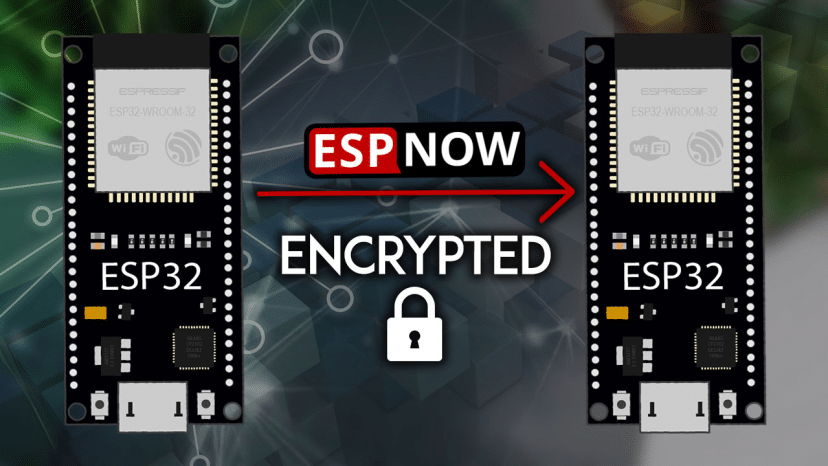
2. Data Encryption
Encrypting data transmitted over the network is crucial for protecting sensitive information from being intercepted.
Example Code: Using HTTPS for secure communication with a server:
#include <ESP8266WiFi.h>
#include <ESP8266HTTPClient.h>
#include <WiFiClientSecureBearSSL.h>

const char* ssid = "your_SSID";
const char* password = "your_PASSWORD";

void setup() {
  Serial.begin(115200);
  WiFi.begin(ssid, password);

  while (WiFi.status() != WL_CONNECTED) {
    delay(1000);
    Serial.println("Connecting...");
  }

  std::unique_ptr<BearSSL::WiFiClientSecure> client(new BearSSL::WiFiClientSecure);
  client->setInsecure();  // Use this only for testing; replace with proper certificate validation in production.

  HTTPClient https;
  https.begin(*client, "https://example.com");
  int httpCode = https.GET();

  if (httpCode > 0) {
    String payload = https.getString();
    Serial.println(payload);
  }
  https.end();
}

void loop() {
}
This code demonstrates how to establish a secure HTTPS connection using the NodeMCU, ensuring data is encrypted during transmission.
Ads:

3. Authentication and Access Control
Implementing strong authentication mechanisms is essential for restricting unauthorized access to your IoT devices.
Example Code: Using a basic authentication mechanism:
#include <ESP8266WebServer.h>

ESP8266WebServer server(80);

void handleRoot() {
  if (!server.authenticate("user", "password")) {
    return server.requestAuthentication();
  }
  server.send(200, "text/plain", "Welcome, authenticated user!");
}

void setup() {
  Serial.begin(115200);
  WiFi.begin("your_SSID", "your_PASSWORD");

  while (WiFi.status() != WL_CONNECTED) {
    delay(1000);
    Serial.println("Connecting...");
  }

  server.on("/", handleRoot);
  server.begin();
}

void loop() {
  server.handleClient();
}
This code provides basic HTTP authentication, ensuring that only authorized users can access the NodeMCU.
4. Regular Firmware Updates
Keeping your device’s firmware up-to-date is crucial for patching security vulnerabilities.
Example Code: Implementing OTA (Over-The-Air) updates:
#include <ESP8266WiFi.h>
#include <ESP8266HTTPUpdateServer.h>
#include <ESP8266WebServer.h>

ESP8266WebServer server(80);
ESP8266HTTPUpdateServer httpUpdater;

void setup() {
  Serial.begin(115200);
  WiFi.begin("your_SSID", "your_PASSWORD");

  while (WiFi.status() != WL_CONNECTED) {
    delay(1000);
    Serial.println("Connecting...");
  }

  httpUpdater.setup(&server);
  server.begin();
}

void loop() {
  server.handleClient();
}
This code enables OTA updates, allowing you to deploy new firmware versions without physically accessing the device, ensuring it remains secure.
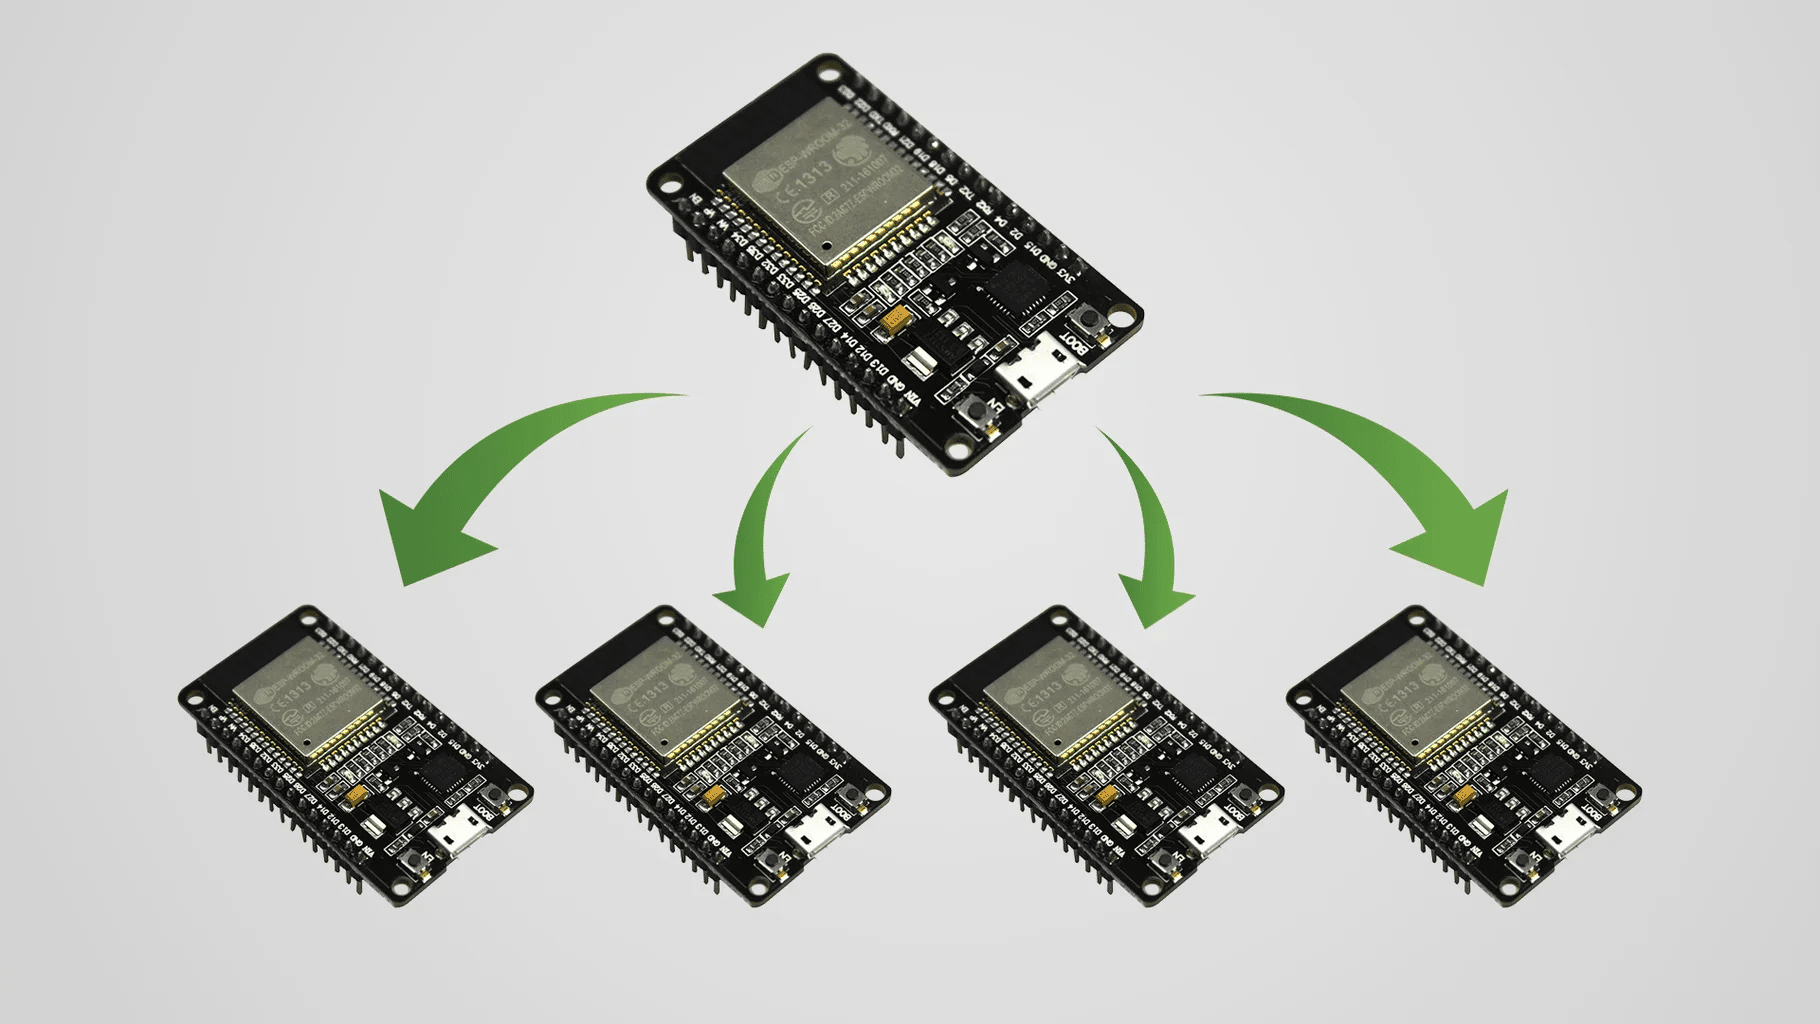
5. Secure Communication Protocols
Use secure communication protocols like MQTT with TLS for secure data exchange between your IoT devices and servers.
Example Code: Connecting to a secure MQTT broker:
#include <ESP8266WiFi.h>
#include <PubSubClient.h>

WiFiClientSecure wifiClient;
PubSubClient client(wifiClient);

void setup() {
  Serial.begin(115200);
  WiFi.begin("your_SSID", "your_PASSWORD");

  while (WiFi.status() != WL_CONNECTED) {
    delay(1000);
    Serial.println("Connecting...");
  }

  client.setServer("mqtt.example.com", 8883);
  wifiClient.setInsecure(); // Use this only for testing; replace with proper certificate validation in production.

  if (client.connect("nodeMCUClient")) {
    Serial.println("Connected to MQTT broker");
  }
}

void loop() {
  client.loop();
}
This code establishes a secure connection to an MQTT broker using TLS, ensuring data integrity and confidentiality.
Conclusion
Securing low-power IoT devices like the NodeMCU v3 is essential for protecting your network and data. By implementing secure boot, data encryption, authentication, regular firmware updates, and secure communication protocols, you can significantly enhance the security of your IoT devices. These practices will help ensure that your IoT projects remain secure and resilient against potential threats.
Read more:
- How to Configure the ESP32 to enter deep sleep mode
- Remote control with the security of user verification using NodeMCU v3
- Building an IoT Weather Station with NodeMCU v3.0 and DHT11 Sensor
Liked this article? Subscribe to our newsletter:
or,
Visit LabProjectsBD.com for more inspiring projects and tutorials.
Thank you!
Ads:


0 Comments