PIC microcontrollers are one the popular and basic microcontrollers and are suitable for small projects and products. Based on importance and usability, I started this series of tutorials on ‘Learning PIC Microcontrollers Programming in C’. This series will cover from A-Z to learning both PIC microcontrollers and programming in an easy way. In this chapter, I’ll cover all the necessary things you need to gather including hardware and software. So let’s start!
⚠️Disclaimer:
Working with electricity involves serious risk. Ensure you have the necessary skills and take proper safety precautions before attempting any electrical projects. Proceed at your own risk — the author assumes no responsibility for any damage, injury, or issues resulting from the use or misuse of the information provided.
All content on this website is original and protected by copyright. Please do not copy or reproduce content without permission. While most of the resources shared here are open-source and freely accessible for your learning and benefit, your respect for our intellectual effort is appreciated.
If you find our tutorials helpful, consider supporting us by purchasing related materials or sharing our work — it helps keep the content flowing.
Need help or have questions? Leave a comment below — the author is always happy to assist!
Table of Contents
Remembering Chapter1:
In Chapter 1, we have learned all the basic knowledge we need to learn before starting microcontroller programming. If you missed it, please read it from the following link.
Learning PIC Microcontrollers Programming in C: Chapter 1
Requirements to have to start microcontroller programming:
There are two types of things you need to start practicing microcontrollers. Both software and hardware.
The software you need:
- A compiler is the main software you need to write code and generate Hex files. Now you may ask why a compiler is needed. Well, that is a different theory. We write in different languages such as C, C++, Assembly, Basic, etc but the microcontroller does not understand these. It understands only the hex command. And a compiler does the job for us generating a Hex file which we can load to the Microcontroller, then it can work.
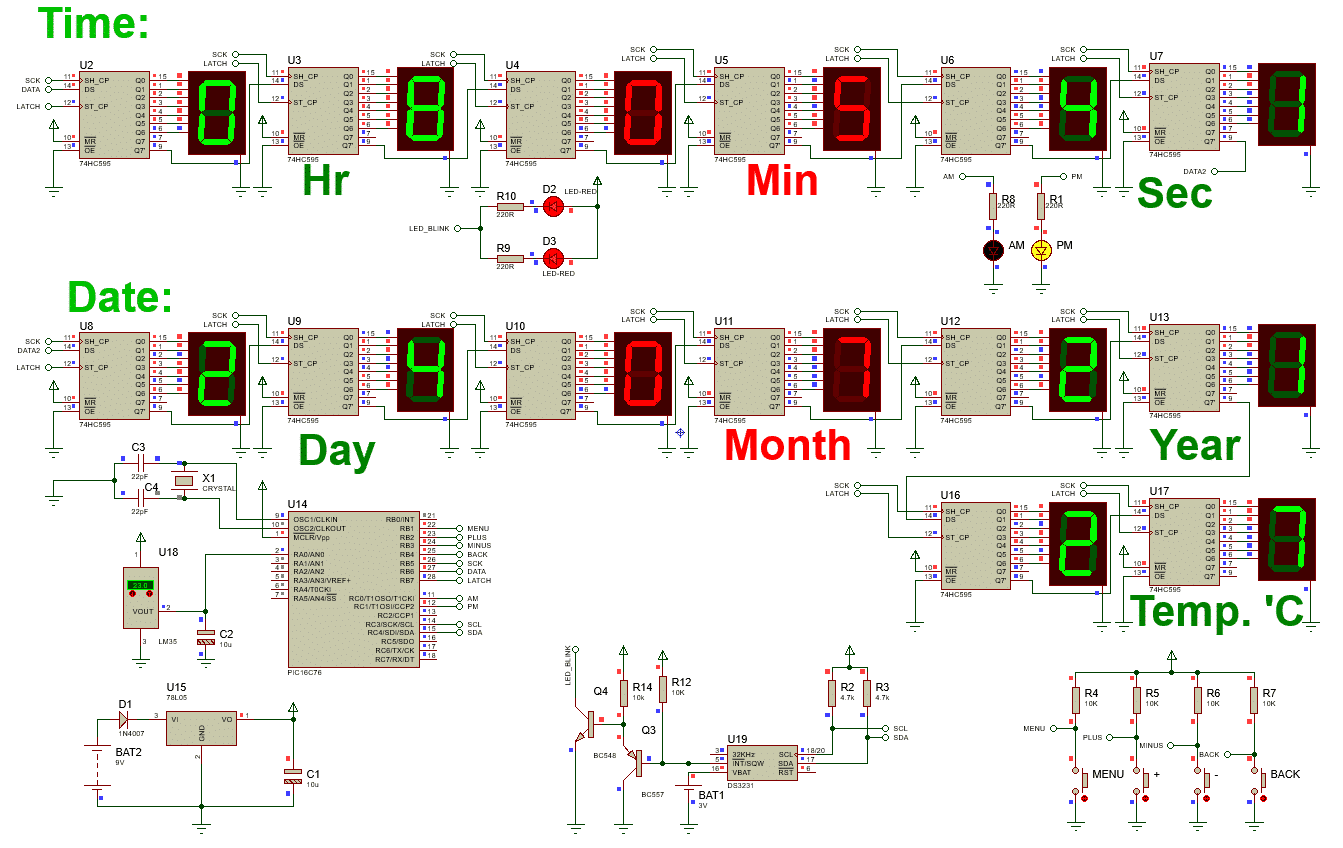
2. Besides this, a simulation tool such as Proteus we can use although it is not mandatory but it’s really important to simulate before we kill ourselves finding out the problem of why the microcontroller is not working as we coded.
Besides these two software, we do not need anything for now. But for special purposes, we will use different software later on.
Hardware:
- A microcontroller itself which we will use to practice and work.
- A programmer or burner to burn or upload the .Hex file to the microcontroller
- A project board, some connection cables
- A crystal oscillator, some resistors of 10K & 1K, LEDs and etc depending on the circuit diagram
- And of course, a power supply which can provide 5V at least. Such as the USB itself.
These are the basic need to work with a microcontroller and based on the different diagrams, different components will be needed.
But, the good news is to learn the basic programming, we do not need all these right now. We can simulate our circuit until the code is working well. So we can use the simulation tool, Proteus ISIS for this purpose.
Software installation:
Compiler:
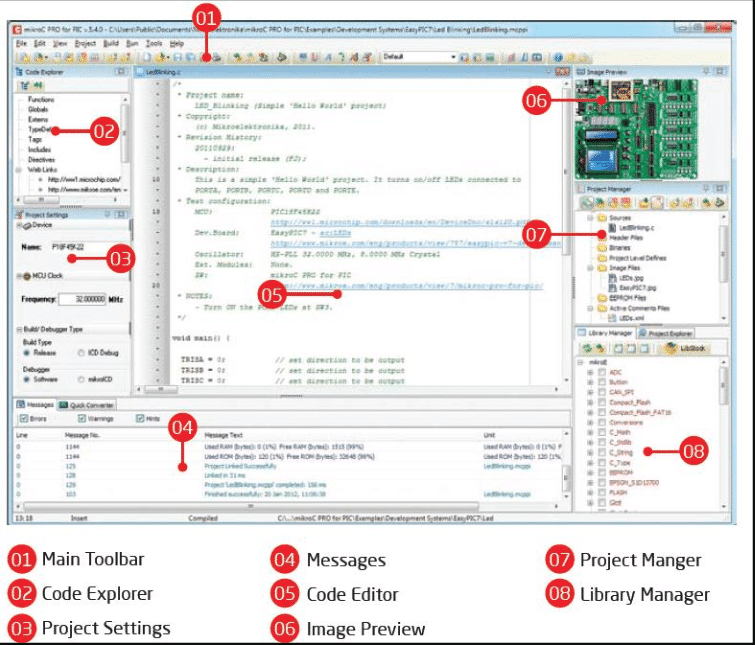
There are many compilers for PIC microcontrollers. Here as I’ve been using mikroC pro for PIC for a long time (since 2010) so I’ll suggest this compiler to use also I have the license for this mikroC pro for PIC. If you can buy it, it’s better for the future but if you can’t then it’s also ok to use it. The only limitation will be the size of your code. But for learning, it’s enough I think.

Simply install it to C dive and we do not need the PICFLASH or CodeGriip for now. So simply install the basic software for now. After installation, you can run it. But right now, no need to do any Ph.D. on it. We can learn individual sections later on when needed.
Simulator:
For simulation, Proteus ISIS is the best. But as this software is very expensive, you may not be able to buy it. In fact, very few people buy its license. If you search a bit, you can find links to download it from different sites. Also, you can download it from here.
After downloading the file, check the instruction inside the folder and follow them.
Now you are all set to go to start practicing, but besides you should collect one microcontroller at least and a programmer.
The hardware you can collect now:
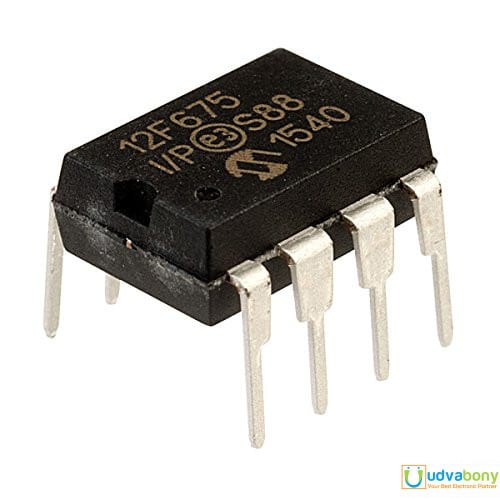
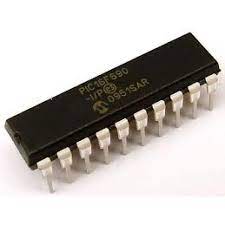
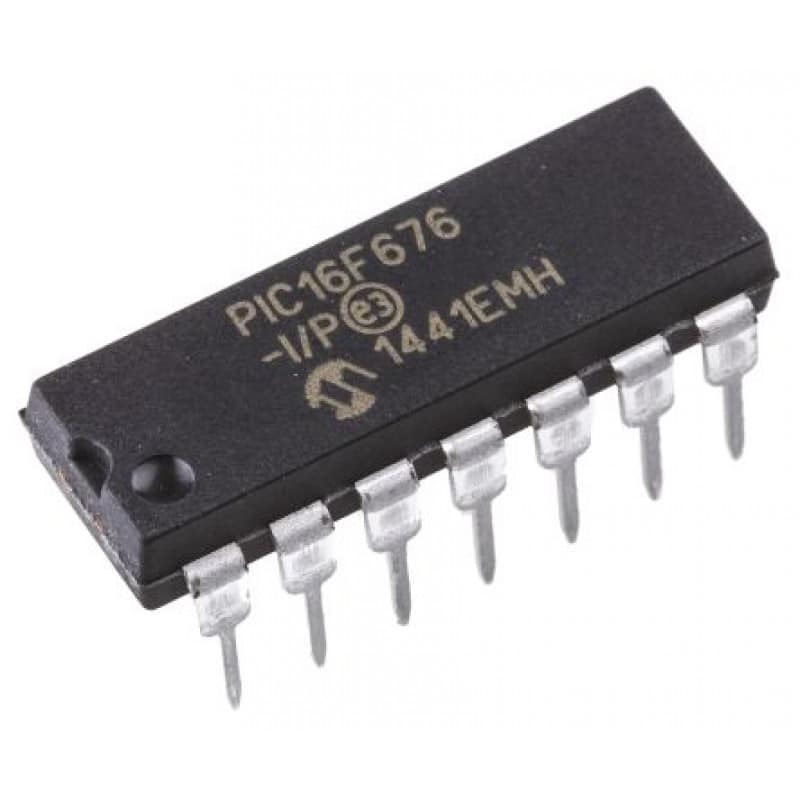
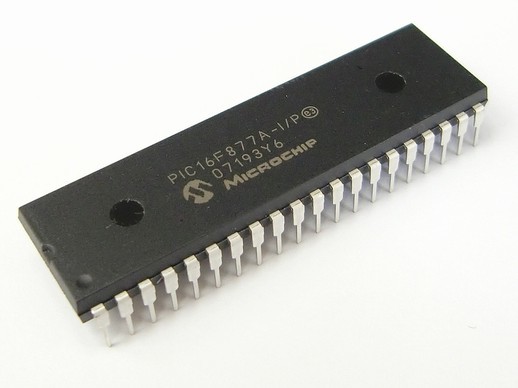
MCU section:
You can collect a PIC microcontroller of lower series. PIC12F675, PIC16F676, PIC16F690, PIC16F877A, PIC16F76, and PIC16F73 are the most common ones. You can collect some of them or at least one of them. If you collect only one, then it’s better to collect PIC16F877A where you can get most features and pins.
Programmer section:
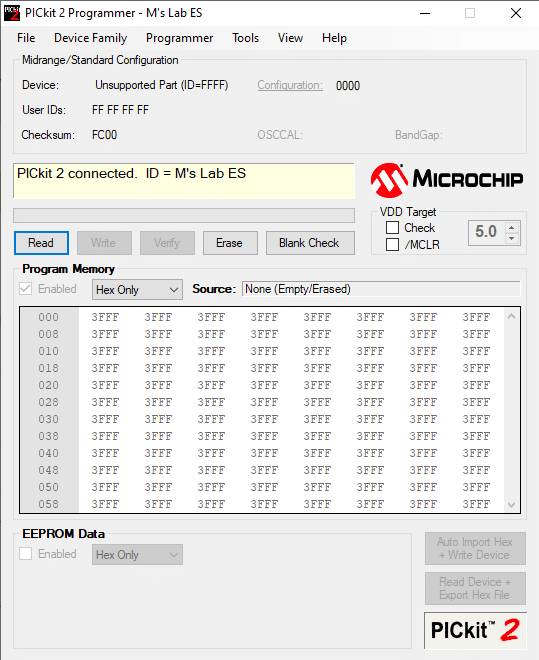
For programming, PICkit2 is the easiest option. But you can collect QL programmer, TL866 programmer, and so on.
Accessories:
A project board and some cables and components that you can collect. Also a power source, please.

That’s all for preparation and also for this chapter. In the next chapter, we’ll start making our first project and will start working with microcontrollers. See you soon.
Read more on:
- learning-pic-microcontrollers-programming-in-c-chapter-1
- learning-pic-microcontrollers-programming-in-c-chapter-3
- Getting Started with STM32 Microcontrollers
- Interfacing External EEPROM with PIC microcontroller
- PICKit2 colon Simplified
- PICKit2 PCB Design Download
Liked this article? Subscribe to our newsletter:
or,
Visit LabProjectsBD.com for more inspiring projects and tutorials.
Thank you!


0 Comments